Attaching felt pads – by fastening type
Self-adhesive, nail, screw or push-on – each fastening type has its specific use and installation steps. Step-by-step guide to a durable installation.
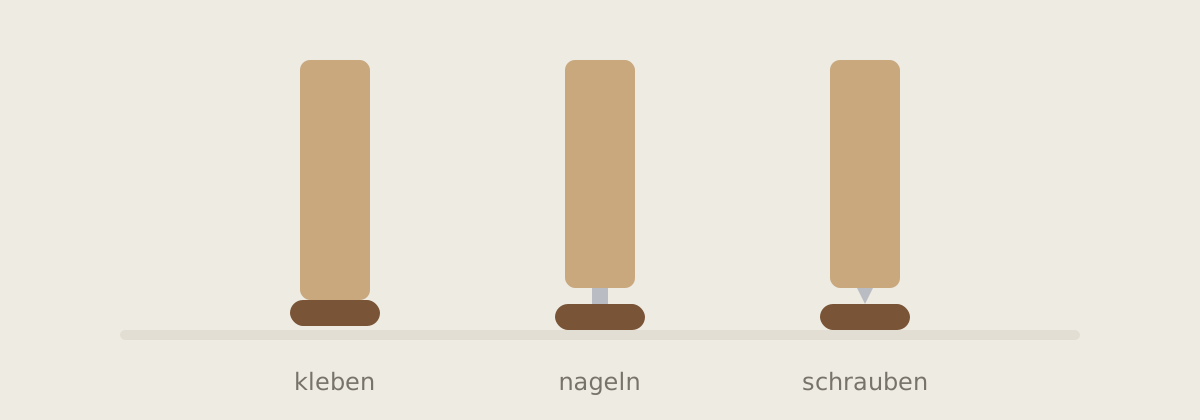
Self-adhesive felt pads: preparation is key
Most complaints about self-adhesive glides are due to the surface, not the adhesive. The solvent-free acrylic adhesive requires a clean, dry, and grease-free surface to develop its full adhesive strength.
- Clean and degrease the underside of the leg (e.g. with a little spirit), allow to dry thoroughly.
- Peel off the protective film, place the glide centrally and press firmly for a few seconds.
- Allow the adhesive time: avoid moving the furniture as much as possible during the first few hours.
Nail-on glides: for solid wood legs
Nail-on glides are placed centrally on the underside of the leg and hammered in with a few targeted blows – ideally with a piece of wood in between to prevent damage to the felt and furniture leg. They are suitable for solid wood; for hollow profiles, doweled or already cracked legs, screw-on or adhesive solutions are the better choice.
Screw-on glides: the strongest connection
For chairs in continuous use, the screw is the most durable fastening. Pre-drill with a small diameter to prevent the wood from splitting, then screw in the glide straight – done. Replacing worn glides later is just as easy.
Round push-on and cap solutions
Caps enclose the round leg from the outside and fit snugly – no tools, no drilling, ideal for rental and contract furniture. The exact size is important here: the cap must fit tightly, otherwise it may be lost when lifting or moving the chair.
Glides are wear parts: For heavily used chairs, these should be checked regularly and worn models replaced – this is significantly more cost-effective than a scratched floor.
All fastening types in one assortment: self-adhesive, nail, screw and caps – in every size.
View self-adhesive felt pads